Adding a New Contact
Contacts can either be added via the Contacts section or on-the-fly when adding a property or well.
Step-by-Step Instructions on Adding a Contact
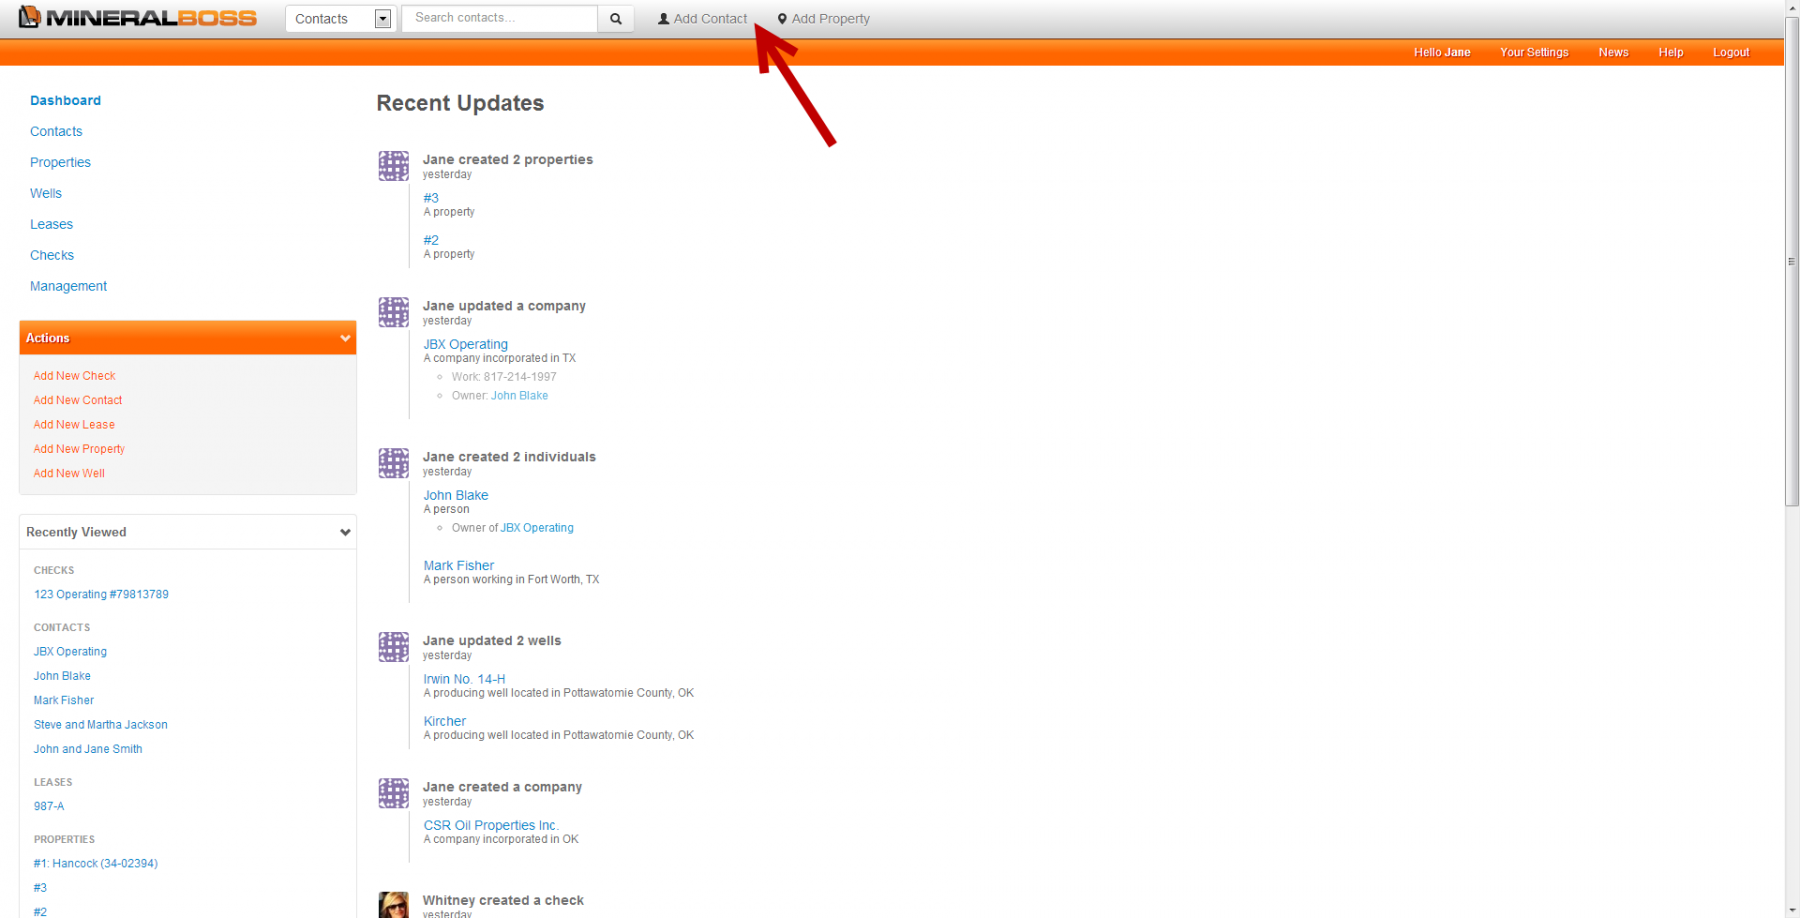
1. Click Add Contact from the page header
2. If applicable, add Tags
Tags can be used to describe an item and allows for items to be grouped together easily. When you click on a tag, a list of all items that share that tag will be listed. Click on the [Add] link
.png)
3. Choose the Contact Type
From the Contact Type drop-down menu, select either Individual, Company, Trust, or Joint Entity. A joint entity is a married couple that owns their interest jointly.
4. Enter the Contact's Name and Legal Name
Depending upon the contact type selected, you might have the option of entering a Name. The Contact's Legal Name is the name that appears on legal documents, while Name is more a friendly name.
5. If applicable, add Emails, Phone numbers, Addresses
By clicking on the [Add] link to the right of a category, you can add necessary contact information. Check the Default checkbox to make this item the primary manner of contact for that item, e.g. if there are two phone numbers listed.
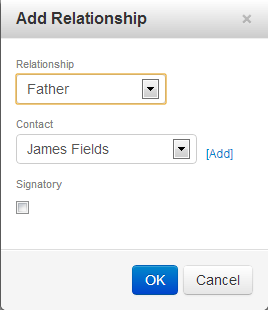
6. If applicable, add Relationships
Contacts for relationships can either be previously-entered contacts or can be added on-the-fly. Relationships are context-sensitive, so the Relationships available will be dependent upon the initial Contact Type selected. If the contact has previously been added to Mineralboss, then it will appear on the Contact drop down menu. If the contact does not exist in Mineralboss, then you'll need to click To add a new contact that does not exist in Mineralboss, click [Add] to create the new contact on-the-fly.
7. If applicable, add Notes
If you have any additional Notes to add to this contact, click [Add] and add the note.
8. Click Save
At the bottom of the page, click the Save button.
Comments
Be the first to post a comment